How Dog Containment Fences Work
Dog containment fences — also known as electric dog fences, hidden dog fences, or in-ground dog fence systems — are designed to safely keep your dog inside a defined boundary without needing a physical fence, or to stop your dog from escaping over or under the fence.
These systems can be used on small or large properties, with or without existing fencing, and can also be configured to block access to specific areas such as gardens, driveways, or chook pens.
What Is a Dog Containment Fence?
A dog containment fence creates an invisible boundary around your property using a radio signal. Your dog wears a lightweight receiver collar that communicates with the boundary wire installed around your yard.
When your dog approaches the boundary, the system gives a warning tone followed by a safe static correction if they continue forward. Dogs can be quickly trained to learn where the boundary is and stay safely away.
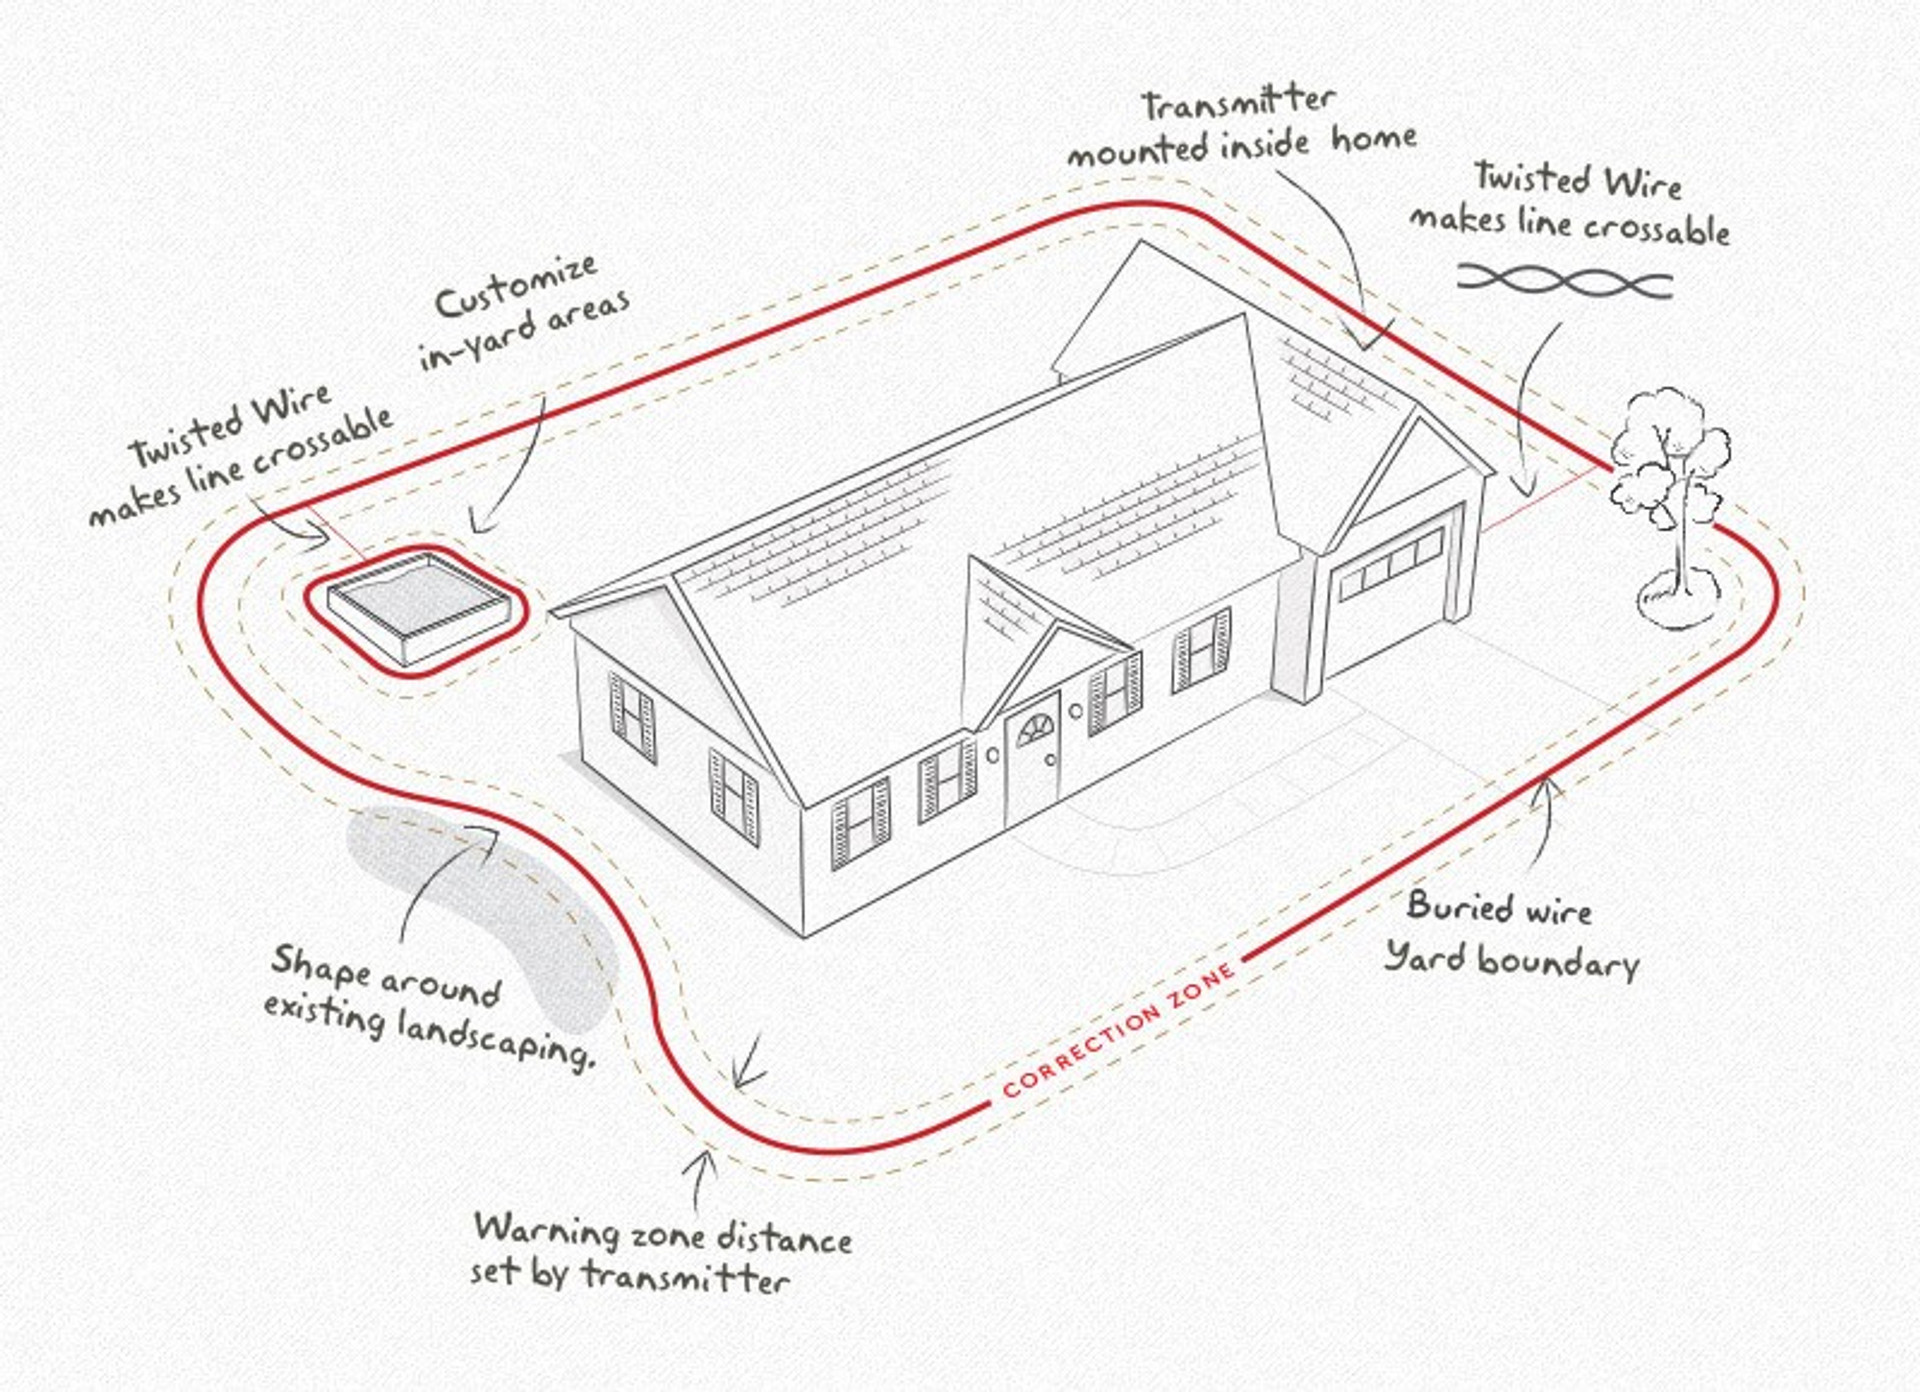
The 3 Main Parts of a Dog Fence System
1. Transmitter Unit
The transmitter is the control centre of the system. Installed inside your home, garage or shed, it sends a continuous radio signal through the boundary wire 24 hours a day.

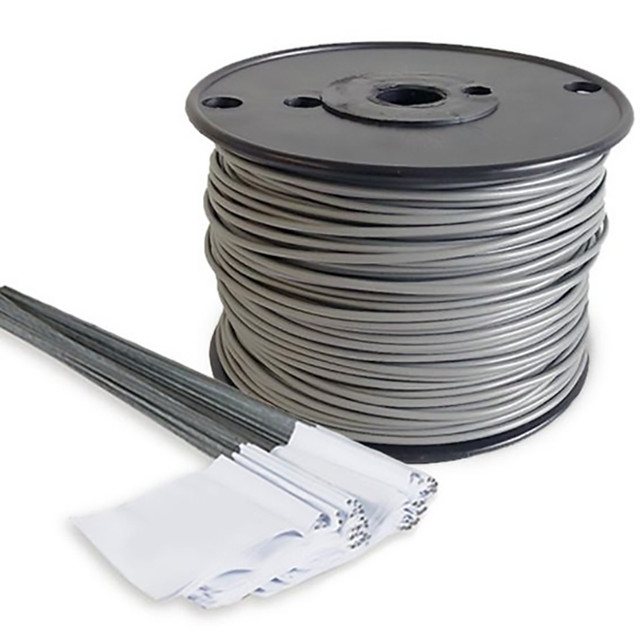
2. Boundary Wire
An insulated copper wire is placed around the perimeter of your property to create the containment area. The wire can be:
- Buried underground
- Attached to an existing fence
- Stapled along the ground surface
The wire carries the radio signal that activates your dog’s collar when they approach the boundary.
3. Receiver Collar
Your dog wears a receiver collar that detects the signal coming from the boundary wire.
- Warning beep or vibration near the boundary
- Adjustable static correction if ignored
- Some can be battery-replaceable or rechargeable
The correction is safe and harmless. If your dog approaches the boundary and ignores the warning, the collar delivers an uncomfortable stimulation that encourages them to turn back. With proper training, most dogs quickly learn to avoid the boundary, meaning the collar rarely activates over time.

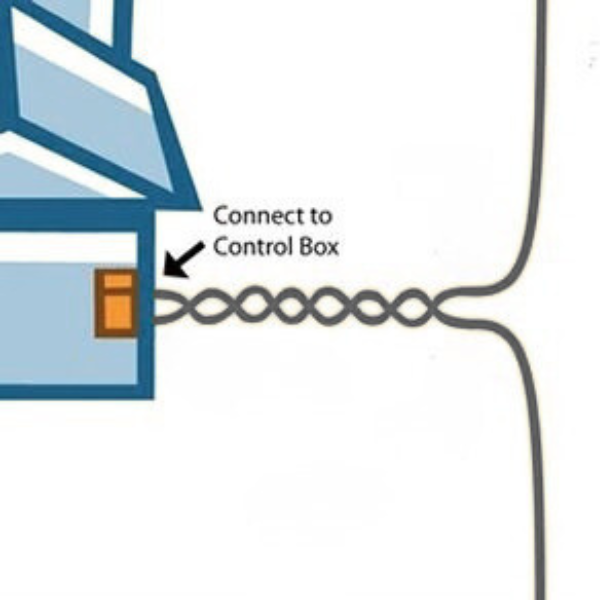
Twisting The Fence Wire?
Sometimes the boundary wire needs to run from the house to the boundary. To prevent corrections in these areas, twist the two wires coming in and out of the transmitter box all the way along to the boundary.
Twisting cancels the radio signal, allowing your dog to safely walk over that section without triggering the collar.
Benefits of Dog Containment Fence Systems
- No visible fencing required
- Works on large or irregular properties
- Prevents digging and jumping escapes
- Costs significantly less than building a physical fence
- Keeps pets, livestock and wildlife safer
Are Electric Dog Fences Safe?
Modern containment systems use controlled, adjustable stimulation similar to a muscle stimulation device (TENS machine). The correction is designed to be safe, humane and effective when used with proper training.
Thousands of Australian dog owners rely on containment fences every day to safely manage roaming or escaping dogs.
Choosing the Right Dog Fence
The best containment fence depends on:
- Dog size and temperament
- Property size
- Collar features (rechargeable or replaceable batteries)
- Restrictions like Colorbond or electric cattle fences.
The best fence overall that suits almost every dog and property is the DogWatch 1200FMD Premium Model.
Need help choosing a dog fence?
Contact our team on 1300 668 931 for personalised advice and system recommendations.


